
Recommendations for the production of quality citrus seeds in the Caribbean region

- Thematic area:
- Planting material and genetic breeding
- Publication date:
- 2020
- Productive system:
- Citrus

Description
Citrus fruits, especially the Margarita orange cultivar (Citrus sinensis Osbeck), are cultivated by small producers, and the winter season in the 2010-2011 period caused the loss of approximately 80% of the planted area in some municipalities. This situation has put the region's genetic resources and the fruit supply to local markets at risk. In this context, and searching for the reactivation of the national seed production system in 2013, the "National Plan for the conservation and production of seeds for small producers" was born, formulated by ICA and AGROSAVIA, and financed by MADR, which sought, in this case, to consolidate and strengthen nuclei of producers of quality propagated material of the Margarita orange cultivar to replant citrus trees in the depresión Momposina region in the departments of Bolívar and Magdalena, and thus, reactivate the main economic activity of the region. Considering the above, the technical manual for producing citrus fruits in the depresión Momposina region was generated and published as a strategy to improve the production of quality seeds and increase the areas established in the Caribbean region with quality trees.
Among the essential aspects described in the Manual, the following stand out:
1. Structure
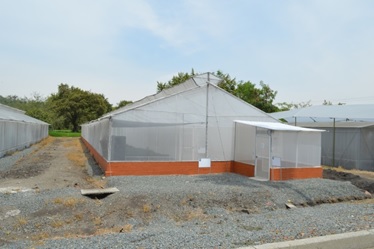
The production of citrus plants must be carried out in nurseries protected with anti-aphid mesh to reduce the risks of entry of pest insects that affect the proper development of the plants (figure 1).
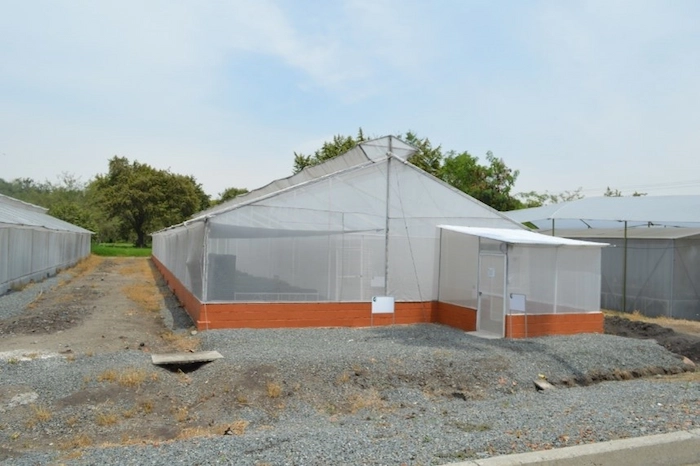
Photograph: Mauricio Martínez
Figure 1. Anti-aphid mesh house at the Palmira Research Center of AGROSAVIA
Source: Yacomelo et al. (2020)
2. Defined areas in the nursery
Sowing seeds for rootstocks: Seeds are placed in rows or trays on the substrate provided by the producer (figure 2) and then covered with more substrate. The sowing depth depends on the seed size, which varies according to the type of rootstock: it is suggested to sow small seeds at a depth of between 1.5 cm and 2 cm and large seeds between 2.5 cm and 3 cm.

Figure 2. Seedbed with citrus rootstocks in a sand substrate.
Source: Yacomelo et al. (2020)
3. Mother plant area
Within the mesh house nursery, there should be, if possible, an area designated for a basic orchard of buds and rootstocks (a group of mother plants with physiological maturity, with production stabilization, fully identified and with genetic and sanitary quality, from which seeds, stalks or buds will be obtained) (figure 3).
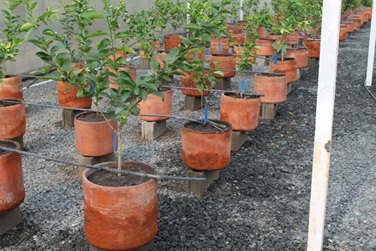
Figure 3. Mother plants for buds.
Source: Yacomelo et al. (2020)
4. Pattern production area
The mesh house nursery must have an area to produce rootstocks and their subsequent grafting. The plants must be adapted or isolated in such a way as to avoid contamination of the substrate or plant propagation materials by direct contact with the soil (Figure 4).
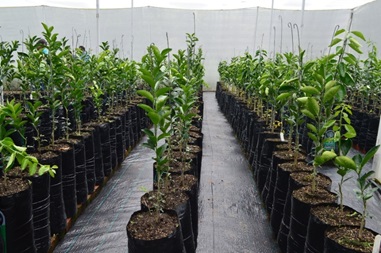
Figure 4. Area for the production of rootstocks and grafting in the nursery.
Source: Yacomelo et al. (2020)
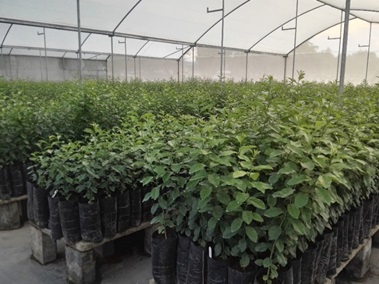
Figure 5. Plant distribution area or display case.
Source: Yacomelo et al. (2020)
Production of quality citrus seeds
Sowing seeds for patterns: The production of quality citrus seeds must:
- Come from homogeneous fruits in size, weight, and maturity (the ideal weight of the fruit is between 60 g and 80 g since it generates a higher number of seeds and has greater germination power).
- Be collected from fully developed and mature fruits.
- Be collected from fruits that do not present rot or defects in their shape and skin.
- Be collected directly from the fruits harvested from the tree.
The seed is extracted after selecting the fruits that meet these conditions (figure 6). To do this:
- The fruit is divided (cut) into several parts; water is added to separate the seed from the pulp and subjected to fermentation.
- The seed is washed several times to ensure its total cleanliness.
- It is dried and selected according to size, weight, health, and degree of maturity.
- It is subjected to a disinfection treatment to guarantee its conservation under storage.
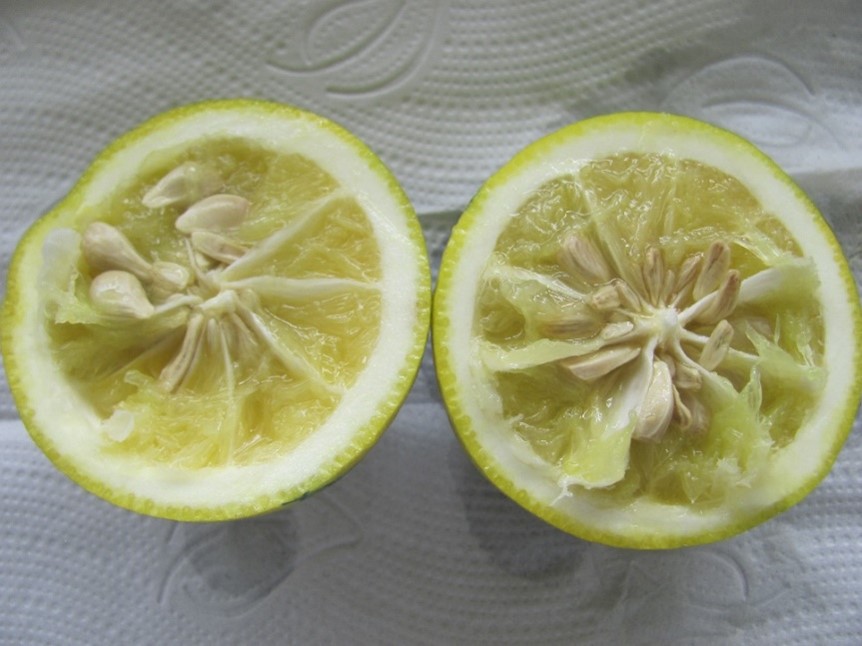
Figure 6. Extraction of Volkameriana lemon seeds: proper way to cut the fruit to avoid damage to the seeds.
Irrigation: After sowing the rootstock seed, sufficient irrigation is applied to achieve adequate hydration of the germination medium; subsequently, the substrate containing the seeds is covered with poli-shade mesh to isolate it from direct sunlight. Irrigation should be carried out every other day until germination occurs, and the substrate humidity must be checked to determine irrigation duration.
Transplanting in bags: The bag for planting fruit trees must have special characteristics: it must be caliber 3, have UV additive, be 43 cm long (empty bag) and 18 cm wide (including the gusset), have at least 9 lateral perforations in the final third, be black and made of polyethylene for first use (bag 1), and be marked with the name of the nursery and the ICA registration number.
Germination of rootstock seeds in the substrate: The substrates are simple or mixed solid materials of natural origin, synthetic or residual, and organic or inorganic (or mineral). All types of substrates can be used depending on the availability and the costs generated for the producer. However, when selecting the substrate, it is important to ensure the appropriate conditions for crop development, provide nutrients in the necessary quantities and forms, optimize irrigation water and nutrient solution, ensure that the substrates are free of phytopathogens, have an adequate porosity (approximately 60% - 85%), and reduce production costs.
It is suggested to determine some physical characteristics of the substrates, such as bulk density, particle size distribution (granulometry), porosity and aeration, moisture retention, permeability, pore size, distribution, and structural stability. From a chemical point of view, it is crucial to consider the cation exchange capacity, pH, buffer capacity, nutritional content, and the carbon/nitrogen ratio (Pastor, 2000; Pire & Pereira, 2003).
The substrate chosen must have good physical and chemical characteristics. Thus, it is suggested to use as a substrate a mixture of soil + rice husk + organic fertilizer in a ratio of 3:1:1, respectively, and if possible, with the addition of mycorrhizae, which can vary between 5 and 20 grams per plant. The bags must be filled to ensure no empty spaces where the roots can be damaged, or the substrate volume decreases when watering them (figure 7).
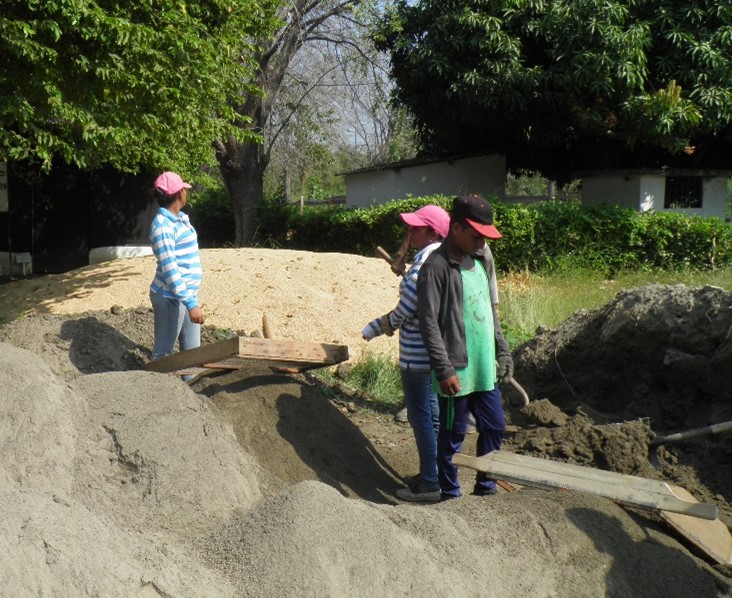
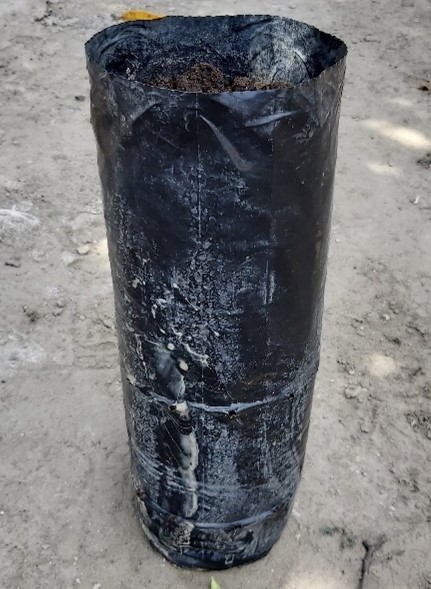
Figure 7. Arrangement of the materials for the substrate in the nursery and filling of the bags. a. Substrate area; b. Filling of the bags.
Source: Yacomelo et al. (2020).
Transplanting of rootstocks: Transplanting should be done when the seedling (which must be healthy, i.e., with three true leaves and fibrous and well-formed roots) is about 15 cm tall (figure 8). When seedlings come from germination trays, transplanting can take place throughout the day, regardless of the weather, but when it comes to bare-root seedlings from germinators, transplanting should be done in the morning or on days with high cloudiness to prevent the sun from drying them out and causing them to enter into water stress.
Once transplanted, intense irrigation is required to ensure that the seedlings have enough water and that transplanting does not delay their development. It is important to note that bare-root plants must be very well planted, i.e., their root must be appropriately placed inside the planting hole and in complete contact with the substrate since problems of "pigtail" or "gooseneck" shapes and even dehydration of the material could arise.
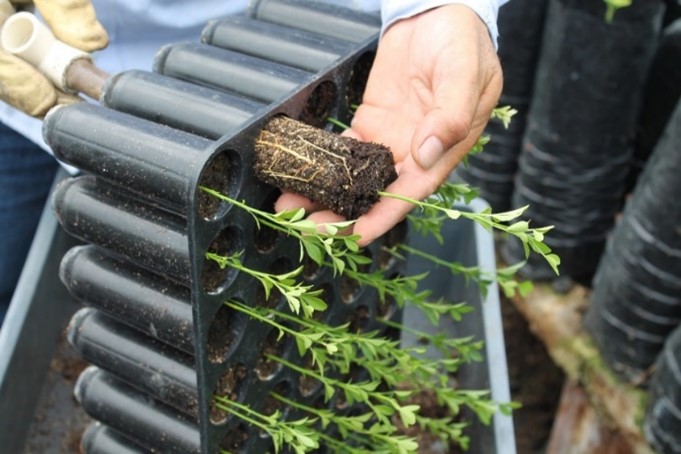
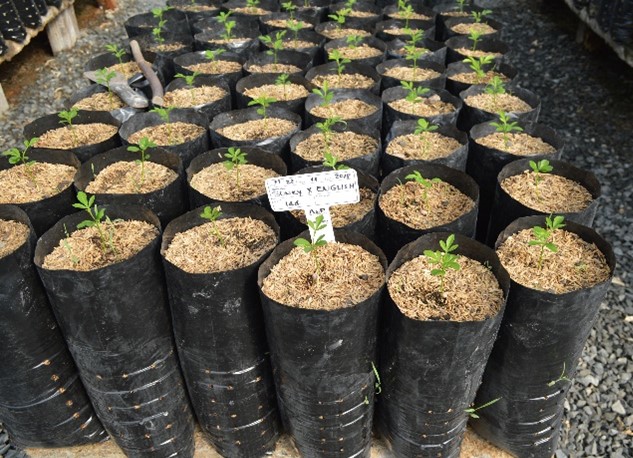
Figure 8. Production of citrus rootstocks. a. Rootstock seedlings ready for transplant; b. Rootstocks transplanted to bags.
Source: Yacomelo et al. (2020).
Each rootstock must be identified with paint of a certain color, a sign applied to the stem's lower part. A record of this process must be kept in the field book and the information generated in the nursery.
Collection and storage of buds for grafting
The buds (healthy mother plants of the variety) must come from a basic orchard or another registered nursery to ensure the phytosanitary and genetic quality of the material. These are collected one or two days before grafting, during the vegetative growth phase of the trees, and the aim must be to ensure that the branch is round and leafy, with a diameter similar to that of the rootstock, and between 3 and 10 buds. Suitable conditions are required to preserve the branches until they are used, and they can be stored in a cellar or box with humidity (figure 9). If necessary, the buds can be stored in a home refrigerator at a temperature of approximately 10 °C for up to 10 days without losing viability. It is recommended that, before grafting, the seeds be treated with a protective fungicide to prevent deterioration by microorganisms. Another characteristic that must be considered is that the trees bearing the buds must meet quality criteria that guarantee the cloning of outstanding individuals in terms of quality attributes. To do so, it is advisable to consider the Colombian Technical Standard (NTC) 4086 (Icontec, 1997), which lists the quality attributes the Valencia orange must meet for its commercialization.
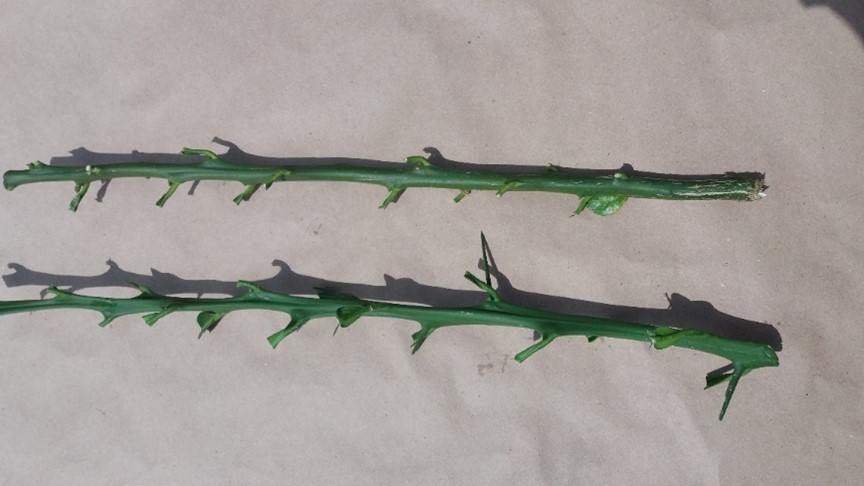
Figure 9. Buds suitable for plant multiplication.
Source: Yacomelo et al. (2020).
Grafting:
When grafting, the rootstock must be adequately hydrated and well-fertilized so the bark comes off easily when making the incision where the bud will be inserted. The cuts made in the rootstock and the graft must be clean. The two parts must be joined intimately and tied together until the graft sticks. Someone with experience in grafting and a high percentage of grafting success must carry out this work.
Procedure:
1. Have the tools you will use to graft the trees in hand (knives, disinfectant, chair, and tape) (figure 10).

Figure 10. Tools needed to perform the grafting.
Source: Yacomelo et al. (2020).
2. Select the rootstocks: Prepare the rootstock you want to graft and remove branches and leaves that may obstruct the cutting (figure 11).

Figure 11. Rootstock selected for grafting with lower branches removed.
Source: Yacomelo et al. (2020).
3. . Select rods with the same thickness as the rootstocks as bud sources (Figure 12).
Figure 12. Selection of rods for bud collection.
Source: Yacomelo et al. (2020).
4. Using the grafting knife, make a vertical cut of about 2.5 cm on the rootstock's bark. Next, make a horizontal cut at the lower end of the vertical cut (forming an inverted T). Care must be taken to ensure that the depth of the cuts is only as deep as the bark and that the horizontal cut is about 15 cm from the ground (figure 13).
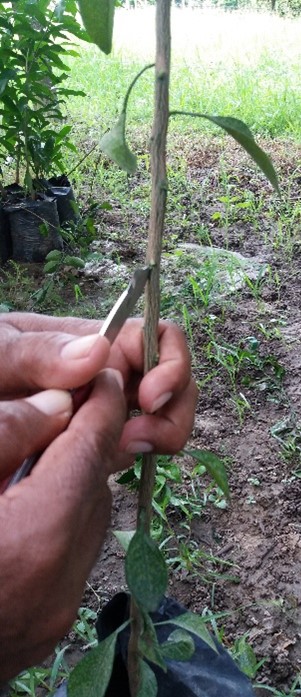
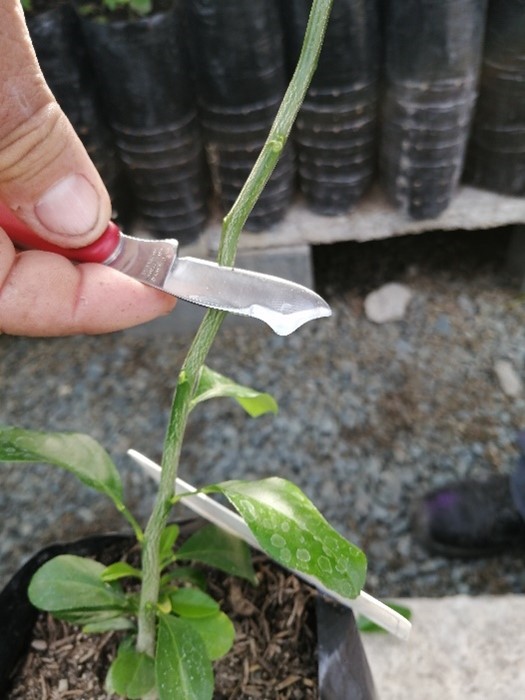
Figure 13. Inverted T-shaped cut to graft onto the rootstock. a. Vertical cut to the rootstock; b. Horizontal cut to the rootstock.
Source: Yacomelo et al. (2020).
5. Now, take a rod in one hand and select a bud that has sprouted well; make a vertical cut from the upper end of the area from which you will take the bud, and then, from the lower end of the bud, make a horizontal cut up to the depth of the previous cut; the bud must have wood so that it is in contact with the rootstock. Keep the rod against your body when making the vertical cut, remove the bud, and keep a strip of bark of about 2.5 cm (figure 14).
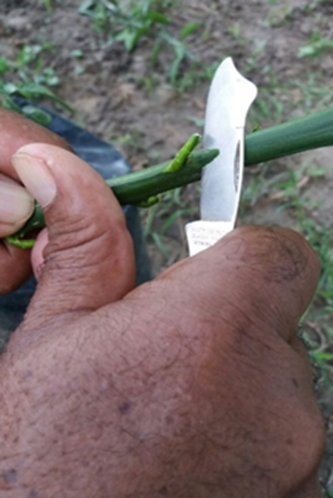
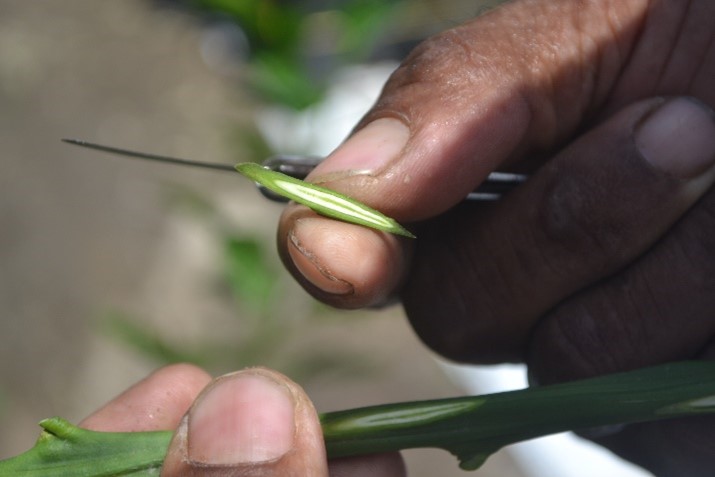
Figure 14. Cutting the bud to be grafted. a. Cutting the bud on the rod; b. Cut bud.
Source: Yacomelo et al. (2020).
6. Gently lift the rootstock's bark on the side of the cuts that form the inverted T and embed the bud by sliding it from bottom to top to fit under the rootstock's bark (figure 15).
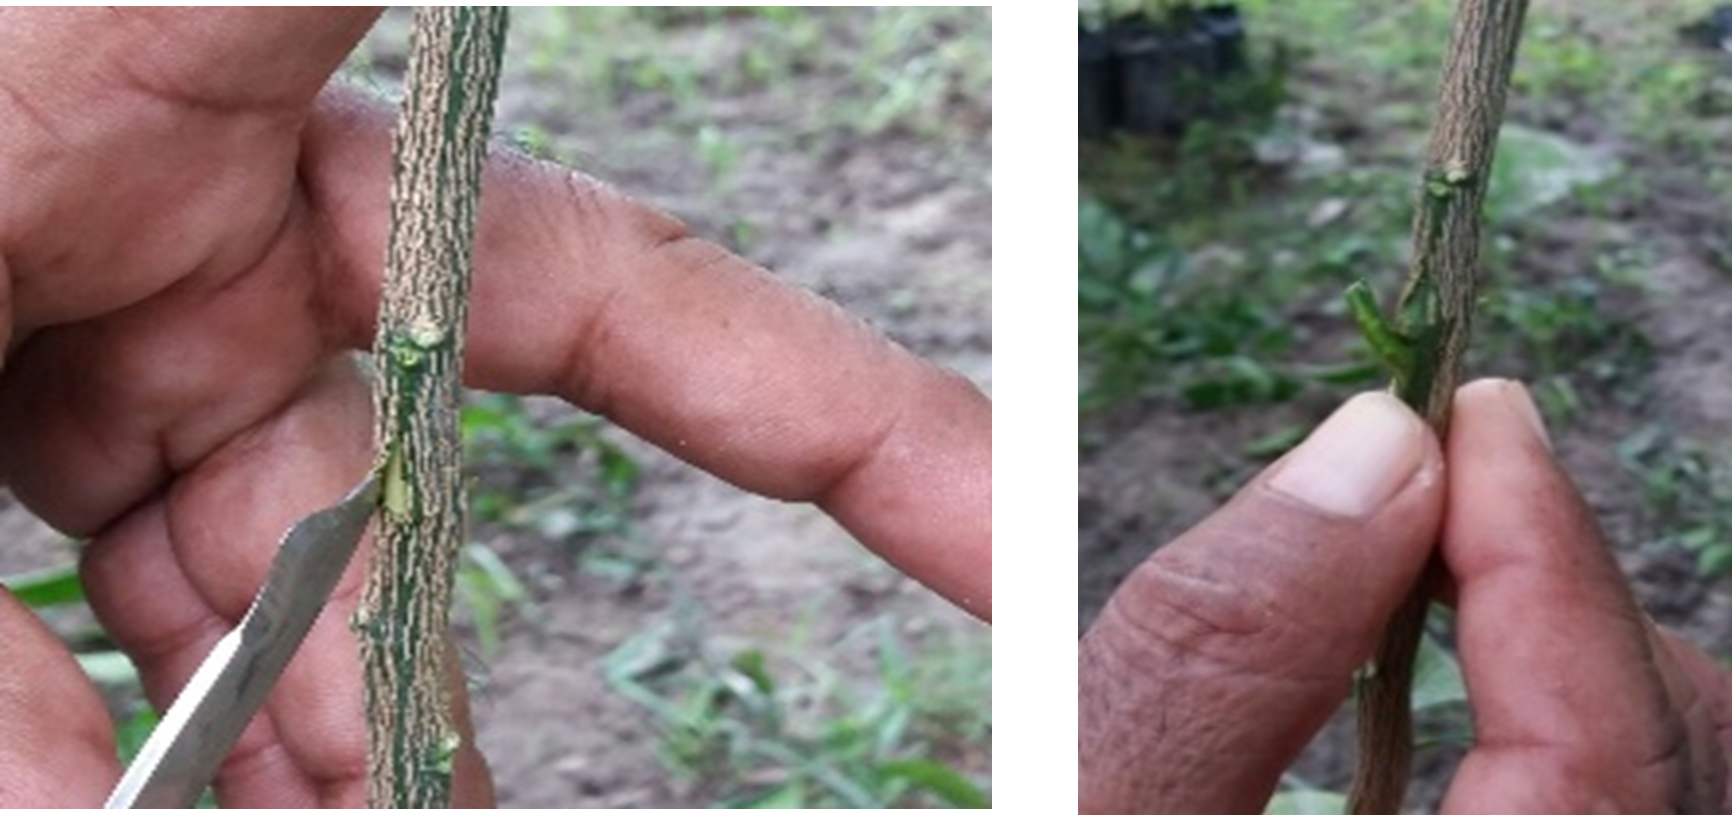
Figure 15. Procedure to embed the bud on the rootstock. a. Lifting the bark of the rootstock; b. Embedding the bud in the bark.
7.Bind and tie the graft with plastic tape from bottom to top to protect it from water entry (figure 16).
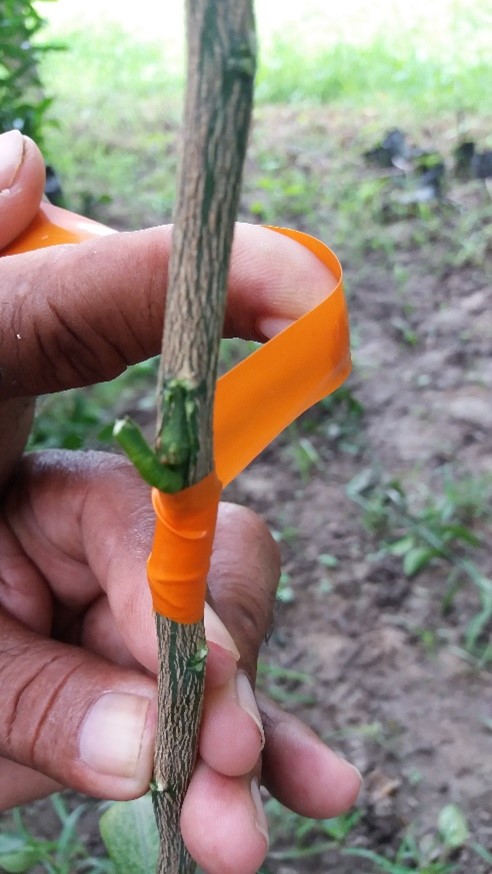
Figure 16. Tying the graft.
8. Once the process is finished, an insecticide + fungicide application is carried out.
9. When the graft bud is about 7 cm long, the top of the rootstock is cut 2.5 cm above the graft bud to help the plant grow. The cut should be made at a 45° angle and in the opposite direction to the graft to avoid water accumulation (Figure 17).
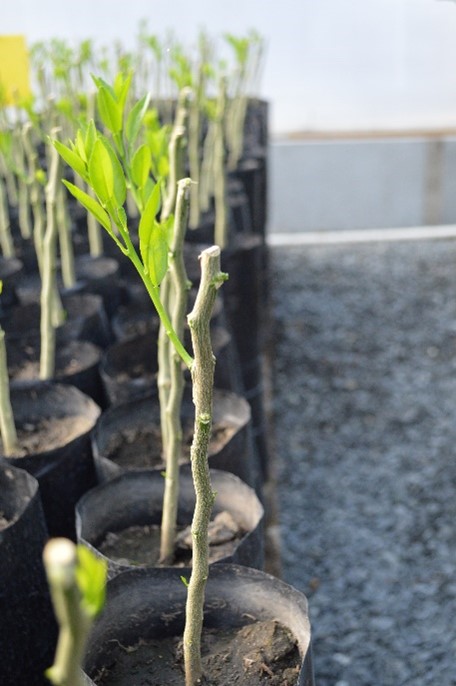
Figure 17. Growth of the graft.
10. Place the grafted trees in a suitable place within the nursery so that they are selected by rootstock, and identify them with a plate that shows the rootstock's name, the bud's name, and the grafting date (Figure 18).
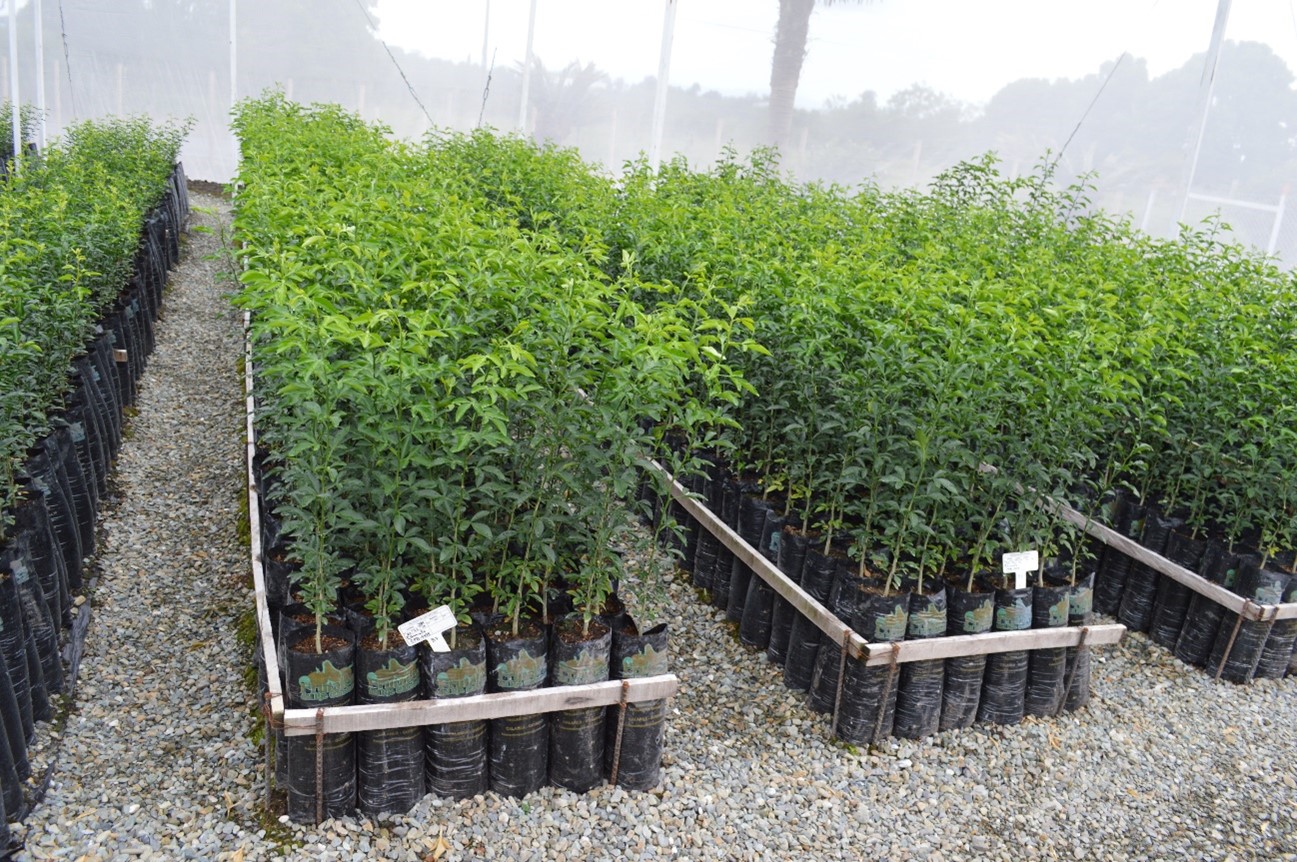
Figure 18. Classification of grafted trees based on variety and grafting date.
11. Finally, approximately four months after the grafting practice, the plant is ready for establishment in the field (Figure 19).
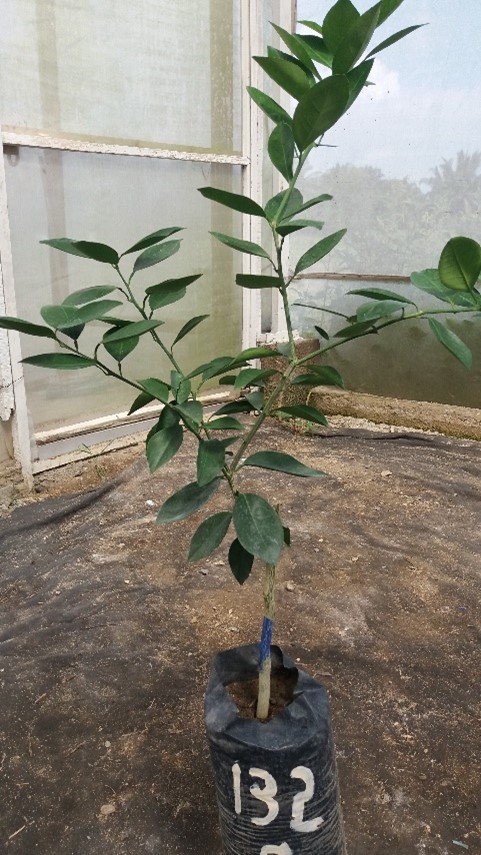
Figure 19. Quality grafted tree ready to be established in the field.
Agronomic management:
Once the material has been grafted, the agronomic management practices that guarantee obtaining a quality plant must be carried out. The practices that must be performed in the nursery stage are listed below.
Weeding:
This task must be done manually. It consists of removing all the weeds that grow next to the seedling from the bag to avoid competition for water, light, and nutrients. This task must be carried out periodically during the first three months and maintained, with less rigor, in the following stages of the plant.
Irrigation:
During the nursery stage, it is essential to maintain adequate substrate humidity for rootstock seed germinating. Irrigation also ensures adequate moisture in the bag during the growth of the rootstock, grafting, and seedling development since a deficit or excess of water will damage the material. Irrigation should be applied during hours of lower temperature to avoid greater losses due to evapotranspiration or damage to the seedlings. Likewise, temperature conditions and soil type define the irrigation frequency, so it is necessary to maintain permanent control of this task.
Fertilization:
Seedling fertilization should be applied to the soil and foliage according to the recommendations of an agronomist. As a suggestion, it is recommended to carry out foliar fertilization every 15 days. During the first two months after grafting, a powdered, chelated, soluble, and fully formulated fertilizer can be used at a dose of 80 grams per 20-liter pump or a complete liquid foliar fertilizer with the content of major and minor nutrients at a dose of 1 ml/L. Subsequently, every 15 days, from two to four months after grafting, the dose of the first fertilizer can be increased to 110 grams per 20-liter pump; after this period, the plant will be ready to be transferred to the field. As a soil fertilizer, applying 10 grams per plant of a granulated complex product is suggested 10 days after grafting and 25 grams per plant at 45 days after grafting.
Pest and disease management:
Under mesh house nursery conditions, there is a very low probability of the presence and incidence of pests and diseases; however, attacks by various pests may occur due to poor or inadequate nursery management agronomic work. Under these conditions, the most common problem found in the nursery stage is insect attack, including the citrus leaf miner (Phyllocnistis citrella), the Asian citrus psyllid (Diaphorina citri Kuwayama), the vector of the HLB disease, the aphids Toxoptera citricida Kirkaldy, Toxoptera aurantii, Aphis citricola Van der Goot and Aphis gossypii Glover, the leaf feeders (Compsus sp.), the woolly whitefly (Aleurothrixus floccosus Maskell), and the spider mite (Polyphagotarsonemus latus Banks). This Technological Offer is recommended for the departments of Bolívar, Magdalena, Atlántico, Cesar, La Guajira, and Sucre.
Related publications
- Manual: Manual técnico para la producción de cítricos en la región de la Depresión Momposina.
- Scientific article: Caracterización y selección de Citrus sinensis Osbeck cv. Árboles parentales de margaritera para repoblación en la región de la depresión de Mompox, Colombia.
Image gallery